Source :- yogauonline . com
Table of Contents
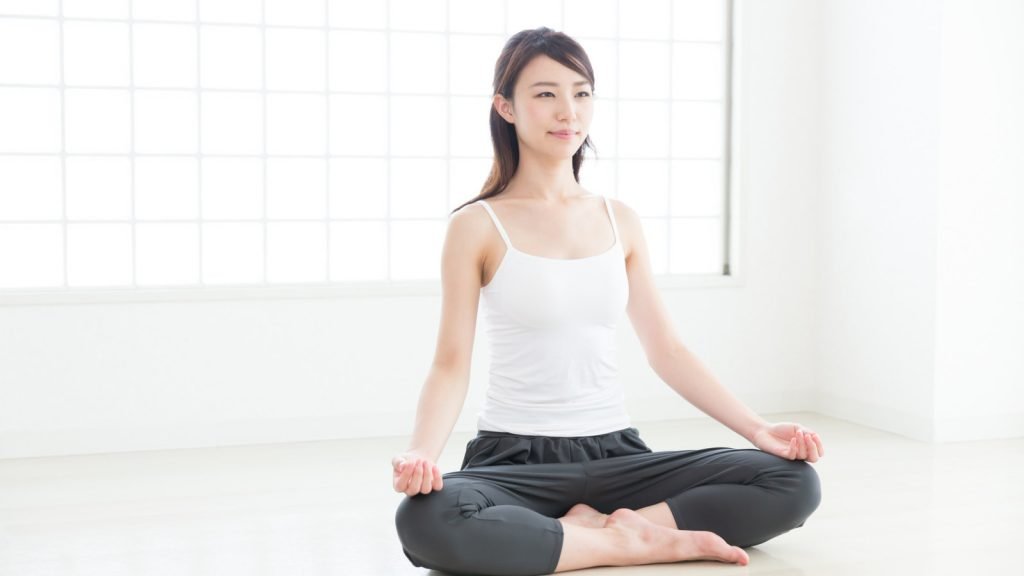
Sukhasana Or Easy Pose:
Sukhasana or Easy Pose is a posture of yoga for heart blockage and that helps to keep the heart healthy. Practicing this yoga pose also improves your overall health. This yoga pose is very much easy to do yet it is very beneficial for health.
Steps To Do:
- Sit straight with the legs stretched out in front of the body.
- Bend the left leg and place the left foot beneath right thigh.
- Similarly, bend the right leg and place the right foot beneath the left thigh.
- Rest the outer edge of your feet on the floor.
- Adjust the body and legs to get comfortable in the pose.
- The head, neck, and spine must be erect.
- Place the palms on the knees or thighs.
- Keep the shoulder relaxed and elbows a bit bent.
- Close your eyes and relax the whole body, take slow and deep breaths.
- Feel each and every breath moving in and out of the body.
- Practice for a minute or less if you feel discomfort.
- Practice twice by interchanging the position of the legs.
Source :- oceanflowfitness . com
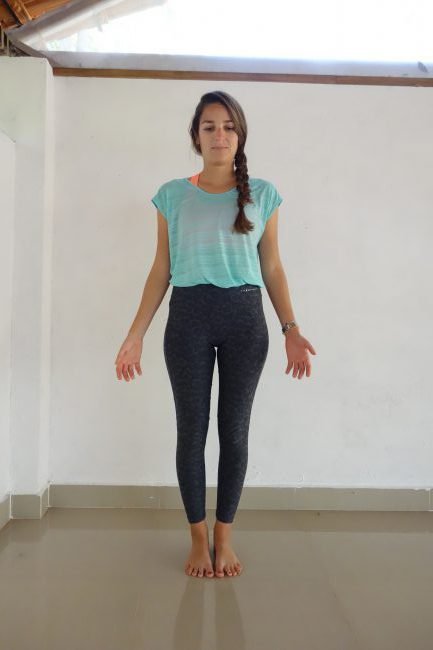
Tadasana Or Mountain Pose:
Tadasana or Mountain Pose is also a very effective and useful pose of yoga for heart blockage. This yoga asana is also very easy to do. So, let’s see how to do this yoga.
Steps To Do:
- Stand straight on the ground, and take a small gap between your feet.
- With deeply breathing (inhale), raise your both arms.
- Keep your arms upward by interlocking your fingers.
- Now come on the toes by raising your heels simultaneously
- Feel the pressure of stretching from toes to fingers.
- Try to maintain this pose as long as you can with slow and deep breathing.
- Now come to the original position with deep breathing (exhale).
- You can perform the number of rounds as per your convenience after having relaxation for a while.
Source :- emilygilchrist . wordpress . com
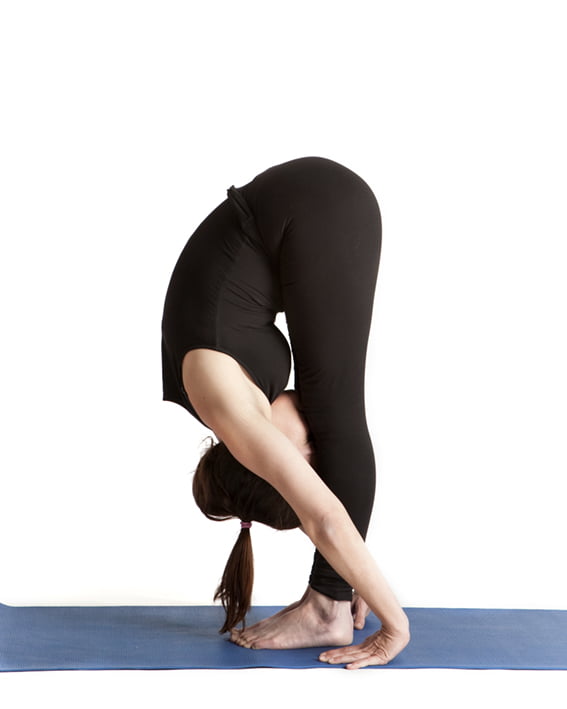
Uttanasana Or Standing Forward Bend:
One of the effective yoga for heart blockage is Uttanasana or Standing Forward Bend. This yoga pose has many other health benefits. So let’s know how to do this.
Steps To Do:
- Take a standing position; keep your feet and shoulder distance apart and parallel to each other.
- Press your feet down into the ground and ground yourself powerfully.
- Now breathe out and gently bend down from the hips (not the waist) and place your chest and stomach on your thighs.
- If you are a beginner, you ought to bend your knees slightly to accomplish this.
- If your knees are bent, make sure that they’re straight over your toes.
- Slowly begin to straighten out your legs however check that your chest and abdomen never leave your thighs.
- Now elevate your hips as you straight through your hamstring muscles all whereas pressing your heels into the ground.
- Once you’re feeling stable, cross your forearms, grab your elbows and hang your head down.
- If you’re enough flexible, you’ll attempt to bring your palms to the ground or hold your heels from behind.
- Begin by holding this pose for thirty seconds and step by step work your way to one minute at a time.
- While holding this position, gently inhale and exhale.
- While breathing in, try to lift and lengthen your torso with each exhalation, try to go deeper and deeper into the stretch.
- There another way to increase the stretch is to roll on to the balls of your feet and lean slightly forward. This stretches the backs of your legs and
- permits you to carry the pose for extended.
- Don’t shut your eyes throughout this Asana.
- Try to hold this pose for 30 seconds.
- Release this pose by placing your hands back on to your hips and with a deep breath in (inhale), extend your back and come up to the initial position
Source :- yogaasan . com
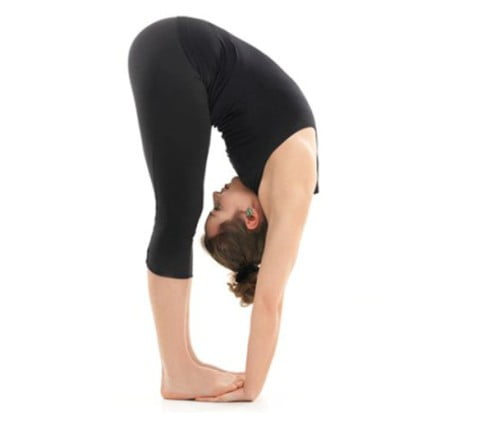
Padangusthasana Or Big-Toe Pose:
Padangusthasana is another pose of yoga for heart blockage. This is an easy yoga pose to relieve stress and anxiety. Let’s see the steps of doing this yoga pose.
Steps To Do:
- Stand straight and keep your legs at a gap of at least six inches.
- Now arrange the quadriceps, outside heel protection.
- Bend front and try to touch forehead to the knee at that time your legs are in straight position.
- In this position grasp your toes, fingers of the foot.
- Once you are in this position, grasp your big toes with fingers of each foot. Grip the toes resolutely with fingers.
- Use your hand to press the toes, you can’t hold your toes that time you have to change the position.
- In that time you also use strap and band to catch and hold your toes as a substitute.
- Set straight the elbows and raise the torso at that time you inhale.
- Without stress any other parts of our body you have done this as lofty as.
- Relax toes and torso that time exhale. Again and again do this.
- Unbend and go to the beginning position in that time also grasping your toes.
- Repeatedly do exhalation and inhalation. Each time increase widens of the torso.
- Gradually release the strap and straighten and go to the starting stage.
Source :- cnyhealingarts . com
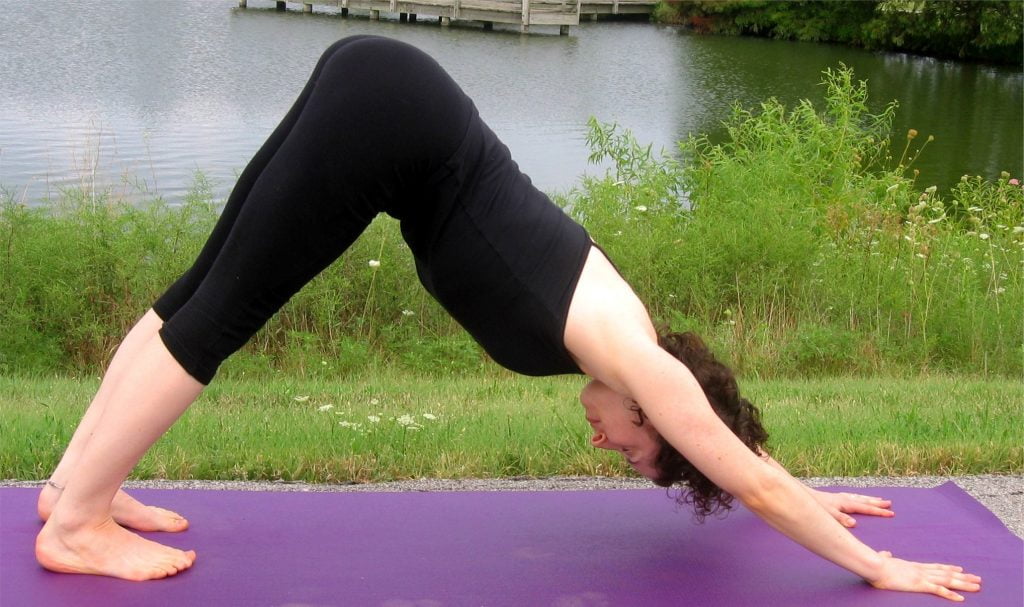
Adho Mukha Svanasana Or Downward Dog:
Adho Mukha Svanasana or Downward Dog is one of the poses of yoga for heart blockage. This yoga pose is very effective for overall health. So, let’s see how to do this.
Steps To Do:
- Lie upside down and inhale the breath and exhale it as well.
- Keep both the legs together and stretch it backwardly.
- Keep both the palms below your chest on the floor.
- The fingers should be stretching forward.
- Inhale the breathe deeply and lift your head, back and hip upwardly.
- Next, exhale the breath and lit your back even higher and then fold your head downwardly.
- Make sure that your legs do not fold while doing this.
- Hold your body in this position for 30 seconds.
- Finally, exhale the breath and come back to the normal stage.
Source :- sd5doozry8 . com
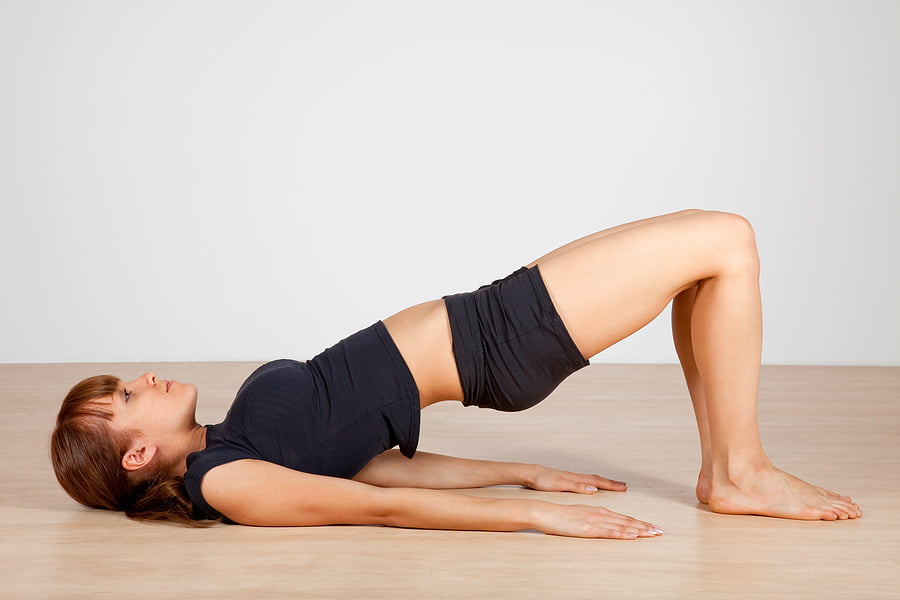
Setu Bandha Sarvangasana Or Bridge Pose:
Steps To Do:
- At first, lie down on your back.
- After that bend or Fold your knees and keep your feet and hip distance apart on the floor.
- Distance should be10-12 inches from your pelvis. Along with knees and ankles in a straight line.
- Take your arms beside your body, and your palms should facing down.
- Now inhaling, slowly lift your lower back, middle back and upper back off the floor.
- Now gently roll in the shoulders; touch the chest to the chin without bringing the chin down, supporting your weight with your shoulders, arms, and feet.
- Now feel your bottom firm up in this pose. Keep your Both thighs are parallel to each other and to the floor.
- You may interlace the fingers and push the hands on the floor to lift the torso a little more up, or you could support your back with your palms.
- Keep breathing normally and slowly.
- Remember to hold the posture for 30 seconds or one minute, and exhale as you gently release the pose.


